From one fit sample to a batch of workshop fixtures
Updated · 9 min read
Turn a successful fit sample into a controlled batch order with contact references, a sample acceptance sheet, separate geometry and preparation records, and receiving checks.
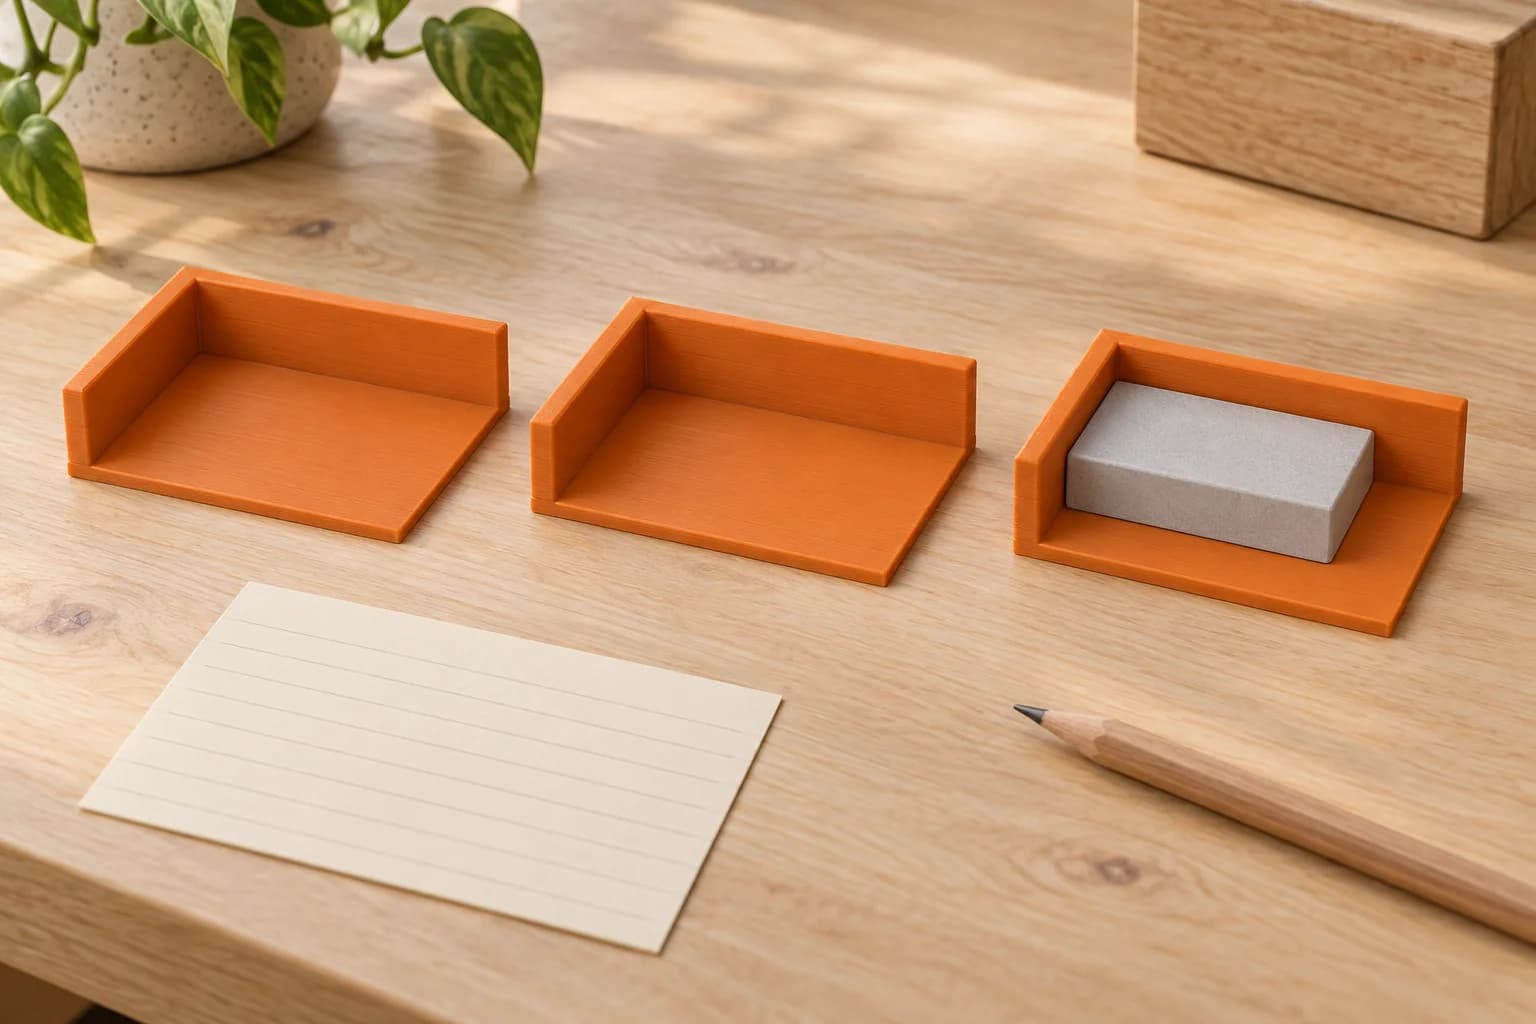
Before ordering more copies of a 3D printed workshop fixture, approve three things together: the task it performs, the surfaces that position the workpiece, and the exact design and print preparation that produced the accepted sample. Then check the received copies against the same record. “It fits” is a useful observation, but it leaves too much unanswered for a repeat order.
For a small assembly shop, this can be a one-page acceptance sheet and a clearly named folder. We suggest it for low-consequence tabletop aids where a poor result is easy to see and stop.
Start with the result, then name the contacts
Imagine a shop applying labels by hand to lightweight decorative blanks. This is an illustrative example, not a customer case. A printed nest supports each blank while the worker places its edge against a side fence and an end stop. The shop wants the label to land in an agreed position without scratching the blank or making removal awkward.
Write that task down before discussing outside dimensions. A stock adjustable stop or a simple shop-made template might already meet the need. Choose a custom shape when it resolves something those alternatives leave awkward.
For the proposed nest, identify three contact references, sometimes called datums:
- Base: the surface the blank rests on.
- Side fence: the face that establishes its sideways position.
- End stop: the face that establishes its position along the fence.
Mark these on a sketch or photograph. Mark clearance areas too: surfaces that should stay out of contact. A blank perched on an unwanted corner has not demonstrated correct seating, even if it drops into the opening.
Stratasys's tooling guide includes datums, measuring surfaces, handling, environment and storage among the requirements to define. It also places release documentation and final inspection in its workflow.1 We are borrowing the habit of stating requirements, rather than the industrial guide's machine capabilities.
Make a sample acceptance sheet before the trial
The following is a proposed shop checklist, not a certification procedure or an inspection service we provide. Add the dimensions, limits and test methods that matter to your particular task. If you cannot define an acceptable result, resolve that uncertainty before multiplying the fixture.
| Check | What to record | What would stop approval? |
|---|---|---|
| Identity | Blank revision, fixture revision and intended task | The sample fits an unrecorded or different blank |
| Seating | Intended base, fence and stop contacts; how they will be checked | Rocking, a visible gap or contact with a clearance area first |
| Handling | Normal loading and removal method | Unplanned force, catching or awkward access |
| Result | Label position measured from the agreed blank reference, within your stated limit | An unacceptable label position after normal use |
| Contact condition | Allowed contact areas and acceptable surface condition | Scratches, trapped debris or interference at a locating face |
| Approval | Tester, date, tested blank IDs, observations and accepted file IDs | “Looks fine” with no link to a particular sample |
For the label nest, test blanks representative of the variation it needs to accommodate. Record which ones you used. Have the person who will actually do the work load, label and remove them using the intended motion. Check the resulting label position, rather than judging only how snug the nest feels.
Photograph the seated blank and contacts. Keep the accepted sample identified with its test record, so the next person can understand the approval.
Separate a feature test from the complete sample
If one clearance is uncertain, a small feature test can help compare alternatives. Markforged's guide describes isolating critical geometry, printing variants and incorporating the selected fit into the full CAD model.2 A coupon answers that local question. Then test the complete nest: its base, access and handling matter too.
Avoid choosing a clearance because somebody else's print used it. Prusa's modelling guidance says there is no universal tolerance value and names geometry, orientation, calibration, settings and material as relevant factors.3 Your acceptance sheet should describe what works for your blanks, rather than adopt a generic number as a promise.
Look closely at the locating faces. Prusa documents how a widened first layer can interfere with close-fitting parts.4 Check for an unwanted edge, support remnants or other contact that prevents the blank from reaching the intended reference. Record the observation before changing anything.
If the sample only works after sanding or trimming, capture what was altered. Decide whether to revise the source model or define that customer preparation as a controlled operation with its own checks. An altered sample does not approve an untouched export. We do not offer finishing or CAD revision as part of the print order.
Freeze geometry and preparation as separate revisions
In our example, the shop might approve NEST-014 / geometry C / preparation P02 / slice S02. Those are illustrative identifiers. Geometry C names the design; P02 records how the physical sample was prepared; S02 identifies the machine-ready export. If one changes, the record can say which one changed and why.
Keep the following together in your own approved package:
- The accepted CAD revision and geometry export, plus the design permission or licence record.
- The saved slicer project and the exact accepted sliced file.
- Slicer version, machine and process profiles, orientation screenshot and relevant support or first-layer choices.
- Selected filament SKU and material, plus any customer preparation instructions.
- The acceptance sheet, photos, sample identifier and order reference.
Why keep both a project and an export? PrusaSlicer documents that its saved 3MF project contains objects, settings, modifiers and parameters; an STL carries the geometry instead.5 Bambu Studio's official command-line documentation also shows that supplied settings can take priority over settings stored in a 3MF.6 Our practical inference is to preserve the tested export and record deliberate re-slicing, rather than assume opening an old project reproduces its accepted preparation.
For the file distinction, see what a .gcode.3mf contains. Our plate-slicing guide explains exporting a compatible sliced plate rather than saving only the project.
Onshape, for example, describes versions as immutable saved states, distinct from workspaces.7 With folders, separate approved copies from working files and avoid overwriting them. final-final.3mf tells the next person very little.
Receive the batch against the same sheet
For a genuinely small set, we suggest checking every copy's accessible locating surfaces and trial fit against the same acceptance sheet. This is a practical receiving proposal, not a universal inspection rate or evidence of process capability.
Keep the batch separate from fixtures already in use until you finish these checks:
- Match the order, quantity and recorded file revision to what arrived.
- Identify each copy so observations can follow the particular unit.
- Inspect the base, fence and stop for visible interference or damage.
- Use the recorded blanks and loading method to check seating and removal.
- Check the label-placement result against the same shop-defined limit.
- Record accepted and held units, the checker and date. Keep rejected copies out of the active set while you resolve the problem.
The accepted sample is a comparison aid, not a calibrated master gauge. If it becomes worn, damaged or altered, review its condition and acceptance record before relying on it.
Our multi-plate order guide explains preparing a batch across plates. Retain available plate and order references alongside each copy's receiving result.
Retire bad versions where people can see the status
Suppose geometry B worked only after its end stop was trimmed, while geometry C passed the intended test without that alteration. Keep B's history and failure reason, but mark it obsolete — do not reorder and remove it from the approved folder. Separate its physical copies from the active fixtures too.
Onshape's release documentation includes an explicit obsolete state and restrictions on using obsolete revisions in subsequent workflows.8 A small shop's folder label is not equivalent software enforcement, but the useful principle is clear: historical existence must not look like current approval.
Review the affected acceptance checks when the blank changes, a different filament SKU is selected, or orientation, supports, slicer settings or customer preparation change. Where the change may affect fit or handling, test a new sample before releasing another batch. Also record why a version was retired: an observed fit problem is more useful than an unexplained “old” label.
Order the controlled file with the current options
We print authorised customer models supplied as compatible pre-sliced .3mf or .gcode files. An unsliced .3mf may use the opt-in auto-slice path when available. Keep your own approved package; an order record is not design approval or a promise of identical future output.
Select from the filament currently offered in the quote flow. If the accepted SKU is unavailable, review the proposed substitution against your checks. Confirm the current CAD quote and fulfilment options for each order, including free scheduled Toronto pickup or Canada Post shipping when offered.
Once the sample is accepted and the batch file is ready, upload the compatible sliced file. Confirm that you own the design or have permission to reproduce it; our downloaded-model guide explains the rights checks. This article's workflow covers low-consequence positioning aids. For powered-machine workholding, safety-critical use or certified measurement, use a suitable engineering or metrology workflow and review our service terms.
If the locating task is still unclear, start with the assembly-jig selection and complete-cycle checks before writing the batch acceptance sheet.
For repeated device accessories rather than workshop nests, the smart-home batch record keeps the actual device and cable combination central to acceptance.
When the repeated pieces form a presentation model, the architectural scale-model guide helps decide scale, readable detail and seams before that acceptance record is reused.
Questions before ordering more copies
How many fit samples should we order?
Choose samples that resolve the uncertain interfaces and test the complete fixture against the workpiece range you intend to handle. There is no universal count in this checklist. One successful blank does not document a varied set of blanks.
Can we reorder from the same STL?
Keep the STL if it is part of the accepted geometry record, but keep the slicer project and compatible sliced export too. Geometry alone does not identify the accepted print setup.5 Submit the compatible file required by the order flow.
Does changing colour require another trial?
Record the actual filament SKU, then review the affected checks when changing it. A shared material name or a similar colour is not the acceptance record. Test again where the substitution may affect the fit or intended handling; do the same for orientation or preparation changes.
What if only some copies pass the receiving checks?
Identify and separate the held copies. Record which check failed and compare their file, preparation and contact condition with the accepted sample. Do not quietly sand every copy and treat the original acceptance as unchanged; approve any intended alteration through the same revision record.
Sources checked
Stratasys, Design considerations: FDM additive manufacturing tooling, workflow and design requirements. Industrial-system guidance; verified: 2026-10-05.
Return to text: 1
Markforged, Composites design guide, version 1.4, printed page 8. Feature-test method; numerical fit recommendations are not transferred here; verified: 2026-10-05.
Return to text: 1
Prusa Research, Modeling with 3D printing in mind, tolerances section; verified: 2026-10-05.
Return to text: 1
Prusa Research, Elephant foot compensation, first-layer widening; verified: 2026-10-05.
Return to text: 1
Prusa Research, Saving projects as 3MF, project contents and STL distinction; verified: 2026-10-05.
Bambu Lab, Command line usage, settings priority. This is file-preparation evidence, not a requirement to use the command line; verified: 2026-10-05.
Return to text: 1
Onshape/PTC, Versioning and branching, versions and workspaces; verified: 2026-10-05.
Return to text: 1
Onshape/PTC, Viewing history and obsoleting parts, obsolete-revision behaviour. Managed release features depend on the workflow; verified: 2026-10-05.
Return to text: 1
Have a sliced file ready?
Upload it for an instant quote in CAD.