How to slice and export a plate in Bambu Studio
Updated · 7 min read
Go from an STL or 3MF to a properly sliced, quote-ready file without losing the toolpath data during export.
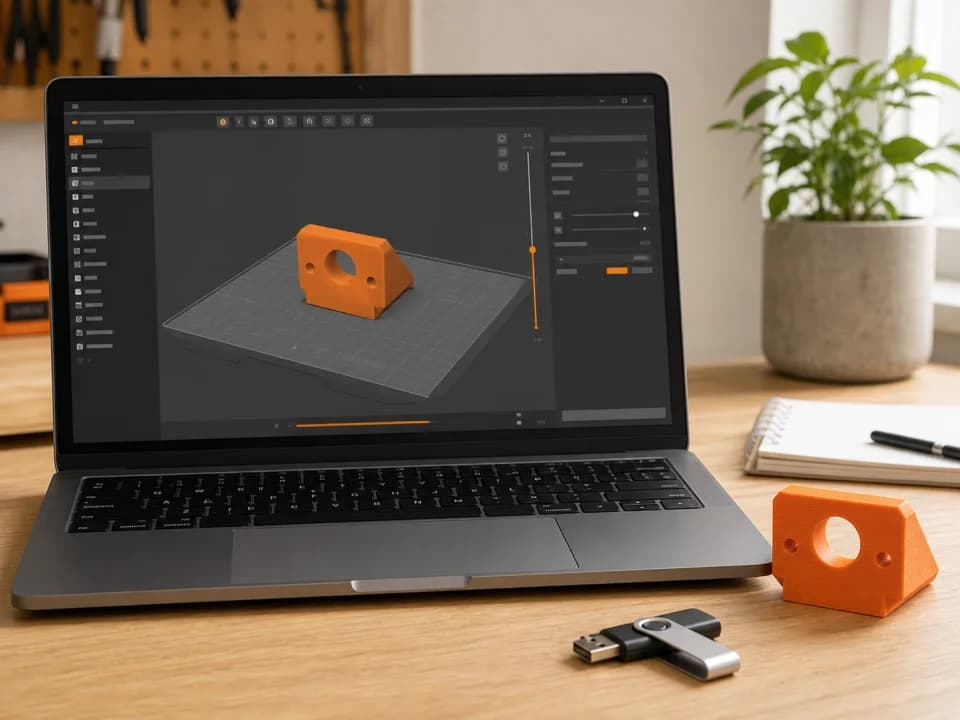
A 3D model is not yet a print job. Slicing turns its geometry into the layer-by-layer toolpath a specific machine will run. Bambu Studio then estimates the filament weight and machine time that our quote reads. The crucial last step is exporting the sliced plate, not just saving the project.
If you only have an STL, start with our guide to turning an STL into a print-ready file. If the double extension looks unfamiliar, see what a .gcode.3mf contains.
Before you start
You need three things:
- Bambu Studio installed from its official release page. The project publishes builds for Windows, macOS, and Linux.
- A model you have the right to reproduce. STL, STEP, OBJ, and 3MF are common starting formats; their contents still need to be checked.
- The current printer and material choices from our upload page. Those values come from the live workshop registry and inventory, so check them when you slice.
1. Open the model and check its scale
Start a project in Bambu Studio and import the model. Confirm the units and finished dimensions before doing anything else. STL files do not carry a universal unit declaration, so a millimetre-versus-inch mistake can make a part arrive tiny or enormous. Use the size fields in the Prepare view and compare at least one known measurement with the original design.
Look for disconnected pieces, parts floating above the plate, or a warning that the mesh needs repair. A slicer can sometimes close minor defects, but that does not prove the repaired shape matches the designer's intent. Re-open the layer preview later and inspect the questionable area.
2. Select the live printer profile
In Bambu Studio's printer selector, choose Bambu Lab P2S with the nozzle size shown by the profile. You do not need to own the printer to install its preset. Bambu Studio supports multiple printer profiles and multiple plates, but the selected profile controls the printable area, motion limits, start sequence, and other machine-specific instructions.
A file can look perfectly sliced and still be wrong for a different machine. Always re-check the profile after opening somebody else's 3MF.
3. Match the material and place the part
Choose a material that is currently listed on the site, then orient the part for the result you need. Orientation affects far more than whether the model fits: it changes supports, visible layer lines, print time, and the direction in which an FDM part is easiest to split. If the part will carry load, treat orientation and material choice as design decisions, not cosmetic toggles. Printed parts are not certified for safety-critical use.
Keep every object within the build area. For a group of small parts, leave enough room for skirts, brims, and toolhead travel. For something larger than one bed, use the multi-plate 3MF workflow instead of scaling a functional part without checking fit.
4. Choose settings deliberately
The standard process preset is a sensible starting point for an ordinary part. These are the settings worth checking before you slice:
- Layer height: smaller layers can preserve more vertical detail but usually add layers and machine time.
- Walls and top/bottom shells: these often matter more to a functional shell than filling the entire interior with dense infill.
- Infill: use enough for the part's purpose, not an automatic maximum. Geometry and load direction matter.
- Supports: inspect where they touch the model. They add time and material and can leave a rougher contact surface.
- Brim or other adhesion: consider it for a small footprint or tall part, then account for the cleanup edge.
If price is the constraint, make one change at a time and use the preview numbers to see what actually moved. Our quote-reduction guide covers the safest order of operations.
5. Click Slice plate and inspect the preview
Select Slice plate. When it finishes, do not stop at the headline time estimate. Move the layer slider through the print and look for missing walls, unsupported starts, unexpected internal voids, tiny isolated features, and support in places you cannot remove it. Confirm that every intended object appears.
Note the filament grams and estimated print time. Those are the two variable inputs in our published quote formula, alongside the base fee and any applicable minimum or service-level charge. You can explore them in the Toronto price guide before uploading.
6. Export the plate sliced file
With the correct plate active, use File → Export → Export plate sliced file. Bambu Studio normally produces a file ending in .gcode.3mf. That package preserves the sliced toolpath and the project information needed to validate and quote the plate.
Do not substitute File → Save Project. A project 3MF can hold models and settings without a usable sliced plate. If our validator reports “This .3mf has no sliced plate,” return to Preview, slice, and use the export command above.
For several sliced plates, use File → Export → Export all sliced file. Our upload flow turns the package into one ordered plate block: each plate is quoted and printed separately, while the block is paid and managed as one order.
7. Upload and read the validation result
Drop the exported file on the quote page. The service opens the archive rather than trusting its filename. If complete sliced-plate data is present, you will see its parsed time, grams, material slots, and initial quote before payment. Checkout also gates stock and the currently enabled raw or multi-material paths.
That validation does not certify the printer profile, nozzle, plate type, dimensions, or quality of your toolpath. You are still responsible for matching the live profile shown above, keeping every object inside its build area, and inspecting the preview. If the file is rejected, follow the specific message and export again after correcting the named problem.
Raw .gcode is also an accepted upload format, but whether it can proceed depends on a currently eligible, hardware-verified printer. A Bambu Studio plate-sliced .gcode.3mf is the safest default because it keeps the supporting project metadata with the toolpath.
If Bambu Studio changes the menu
Slicer interfaces evolve. The invariant is more useful than memorizing a screenshot: first generate the toolpath, inspect it in Preview, then export the sliced result. A saved design project and a sliced print package are different artifacts. When in doubt, the upload validator is the final check; it never starts a print or charges you merely for testing a file.
Sources checked
- Bambu Lab's official Bambu Studio repository and feature list
- Bambu Studio's official slicing and 3MF export documentation
- 3MF Consortium format overview
Sources verified: 2026-07-21. Menu labels were checked against the current public Bambu Studio workflow.
Have a sliced file ready?
Upload it for an instant quote in CAD.