Marking guides and painting stands for millwork shops
Updated · 9 min read
Use one reference edge for a marking-guide trial and one coated sample for a paint-support trial. Compare custom shapes with conventional tools before ordering a set.
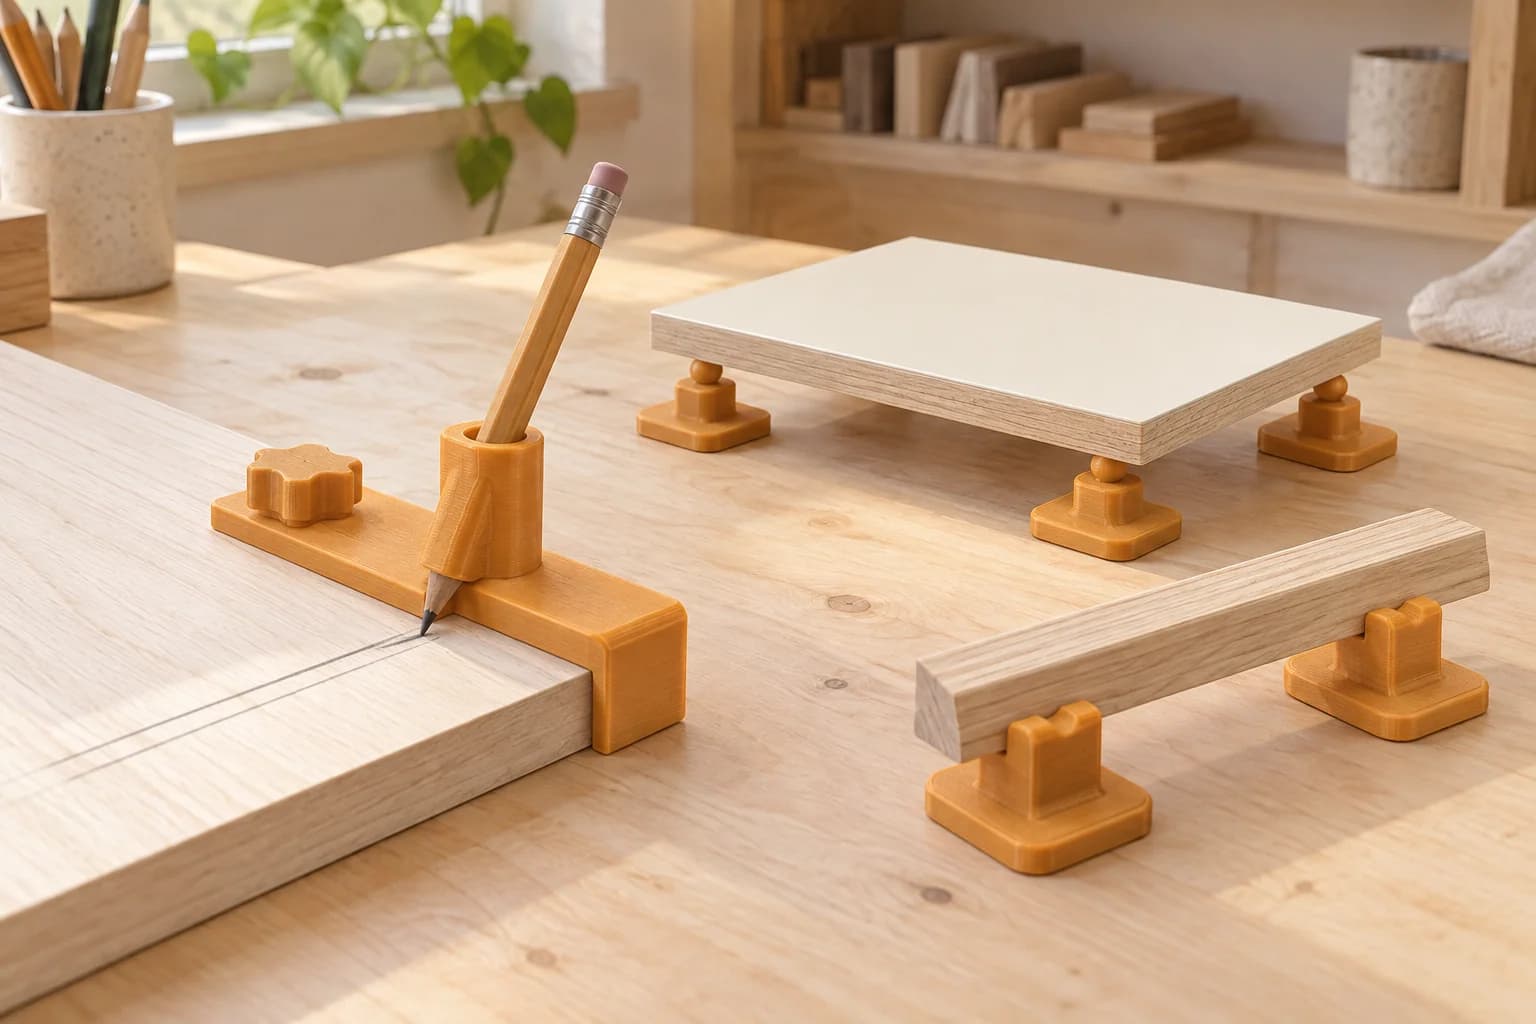
A 3D printed marking guide is worth considering when a particular offset, edge shape or dry-fit arrangement is awkward with the tools already on your bench. Small painting stands can also give light trim and finish samples clearance above the work surface. In both cases, the useful question is specific: does this shape repeat the reference you need, or support this piece through your finishing routine?
Start with that question before choosing a model. A standard marking gauge, sliding bevel or retail painting support may already do the job. We would reserve a custom print for a feature those options do not conveniently provide, then check one sample before ordering a set.
Give the guide one clear reference
Prusa's workshop-tool account documents printed parallel marking tools, angle-transfer aids and board-alignment pieces. It establishes these as real bench uses, but provides no accuracy qualification for a print ordered elsewhere.1 The checks below are our proposed shop workflow, not a report of tests we have performed.
Repeat a pencil offset
An edge-guided tool locates the pencil relative to the face that runs against the stock. Prusa describes a parallel marker with different pencil holes that slides along an edge.1 A custom version might instead clear a moulded profile or carry one fixed offset that your shop repeats.
For a hypothetical trim job, suppose the aim is to mark a reveal on several short sample pieces. Write down which straight edge establishes the reveal. Check that the guide's fence reaches that edge without resting on the chamfer, and that the pencil tip reaches the top face without forcing the guide to tilt.
Use the pencil you intend to keep with the guide. Draw on scrap, lift the tool, reseat it and draw again. Compare the marks at both ends against a trusted rule or square. Decide in advance whether you are checking the centre of the pencil line or one side of it; otherwise the inspection can change even when the guide has not.
Where a fine scribed line or frequent adjustment matters, compare a conventional marking gauge. The Veritas Dual Marking Gauge, for example, has two adjustable rods and locking settings for repeated dimensions, with wheel cutters rather than a pencil.2 That is a different layout capability from a printed pencil holder.
Transfer an angle
First decide whether you need to carry an existing angle to another piece or determine its numerical value. Lee Valley makes that distinction in its bevel-setter description: a sliding bevel transfers an angle, while the setter provides a scale for setting or reading it.3
For an unusual small trim junction, a printed fixed-angle template could be a candidate for repeating a previously checked hand-layout reference. Compare it with the shop's trusted angle reference before using it on the sample. If the design has a pivot, reject a setting that shifts under ordinary pencil pressure.
Do not treat an embossed angle number as calibration. If several angles need frequent adjustment, keep using a suitable sliding bevel and angle-setting tool. A custom shape should earn its place through easier registration, not merely because it can carry a number.
Align pieces for a dry fit
Prusa also shows an alignment piece made for a particular board thickness.1 The useful lesson is to model the stock you actually have, rather than assume that a nominal thickness gives the required fit.
A hypothetical use is arranging two light trim offcuts edge-on-edge to inspect a reveal or joint relationship. Choose which faces should be flush. Measure the actual pieces, then check that the locator seats without rocking, squeezing the stock or catching a rounded edge. Reverse the pieces and reseat them to see whether the arrangement still agrees with the intended reference.
Keep this as a positioning aid for hand layout and dry fitting. Suitable existing clamps do any necessary holding. This article's examples do not include power-tool guides, guards, push sticks or drilling aids.
Check seating before checking the printed number
A repeatable bench check can be short:
- Mark the reference face and edge on representative scrap.
- Clear debris from the stock and inspect the guide's contact faces.
- Seat the guide, check for rocking, and make a short mark.
- Lift and reseat it several times, then compare the marks and their offset.
- Record the result against the needs of this job before releasing the guide for use.
If the marks disagree, investigate the contact surface, pencil fit and reference choice before ordering more copies. Change the source model where needed and prepare a new slice. Our replacement-part guide discusses the same reason to test mating features before a batch: a convincing shape on screen does not settle the physical fit.
Choose paint supports around the sample
The base footprint and the top contact have different jobs. In a proposed design, we would look for feet that sit securely on the covered bench, while choosing contacts that leave access around the small piece. Reducing the contact area is not a promise that the coating will release cleanly.
There are useful commercial comparisons. Hyde's Painter's Pyramid raises work above the bench on small contacts.4 Rockler's Finishing Bridges use a raised ridge for narrow stock and a central divot for dowels; they attach to separately sold Work Grippers.5 Those product descriptions explain the intended geometry. Their performance claims do not transfer to a similar-looking print.
For a light sample or short trim offcut, use this comparison to plan a trial:
| Contact approach | Reason to consider it | What to inspect on scrap |
|---|---|---|
| Small point or rounded tip | Leaves access around a flat sample | Local impressions, sticking and whether all supports seat |
| Short ridge | Provides a contact line under narrow trim | Rotation, balance, release and the resulting contact trace |
| Broad sacrificial contact | Gives a simple support where the contact face can be touched up | Coating transfer, access and how much touch-up is acceptable |
This is a design comparison, not a load rating. Keep the trial to small, light pieces. For doors, heavy assemblies or a shop drying system, choose equipment intended for that task.
Run the coating trial through lifting
Choose representative scrap, the intended coating and the actual bench covering. Arrange the supports under sound areas of the piece. Before coating, check the brush access you need and whether ordinary hand access makes the sample slide, rotate or tip.
Then follow the coating manufacturer's process and inspect the piece after lifting. Look for a dent, glossy imprint, stuck coating, transferred residue or damage at each contact. Put contacts on a less visible face where the design allows, and decide whether any touch-up is acceptable for this job.
Include the planned contact time in the trial. General Finishes distinguishes the interval between coats from cure time before normal use.6 A surface that looks ready for another coat has not necessarily reached its final hardness. Follow the instructions for your actual product rather than borrow a universal waiting period.
Record the coating, contacted face, time on the supports and room conditions. That gives a later batch a useful reference. A bare-wood balance check alone does not answer the coating question.
Treat cleaning as part of reuse
Before choosing a support material, note the exact cleaner and exposure it would encounter. Prusament's chemical-resistance report identifies chemical composition, temperature, concentration and mechanical stress as relevant variables.7 A filament name therefore cannot establish compatibility with the shop's cleaner.
Check the plastic and cleaner information together; brush-cleaning instructions alone do not qualify a printed stand. Retire a support that becomes tacky, swollen, cracked, distorted or persistently contaminated. If compatibility remains unresolved, use a suitable commercial or sacrificial support instead of planning repeated solvent cleaning.
Keep the sample result with the file
Once a guide or stand passes your shop's trial, retain a small job record:
- The model revision and sliced-file name.
- For a guide: actual stock dimensions, reference faces, offset or angle, pencil and repeat-mark result.
- For a stand: sample size, support arrangement, coating, contact time, cleaner and release result.
- The material selected for the print, accepted quantity and any changes needed before a repeat order.
The record should explain why this version was accepted. It also makes a change visible: a new moulding profile, pencil, coating or cleaner deserves a fresh check rather than an automatic reorder.
Prepare one sample for a Toronto print order
Use your own design or confirm that a downloaded model permits the reproduction and paid printing you intend. Our downloaded-model guide explains the permission checks. The illustrated concepts are not downloadable products; bring an authorized model for your sample order.
If you have an STL, follow the STL-to-print-ready guide, then the plate slicing and export steps. We accept authorized compatible pre-sliced .3mf/.gcode files. Unsliced .3mf files have an opt-in auto-slice path, subject to availability; raw STL checkout and CAD conversion are not included.
Upload the prepared sample file, choose from the compatible stocked materials shown and review the CAD quote. Free scheduled Toronto pickup and Canada Post shipping follow the ordering options. We print the submitted file; finishing and application qualification remain outside the order. Check our terms before ordering.
For repeated handle positions specifically, use the cabinet-template setup record to separate fixing centres from offsets and prove both door orientations.
When the problem is locating a component through an assembly step, the lightweight assembly-jig guide adds loading, hand access and removal checks.
Questions from the bench
Will a printed painting stand leave marks?
It may. Test the intended contact shape on coated scrap through the planned lifting time. Accept or reject the contact result for that finish and face; we cannot promise mark-free support.
How accurate is a printed marking guide?
There is no universal figure for the guides discussed here. Compare repeated marks with a trusted reference on your actual stock and decide whether they meet the job. A nominal model dimension is only the starting point.
Should we print a guide instead of buying a gauge?
Print a sample when a custom offset, clearance or locating shape solves a specific problem. Buy the conventional tool when its adjustment, cutting-wheel layout or existing support geometry already suits the work.
Can we order the full set straight away?
You can prepare a quantity, but an untested arrangement gives you no shop evidence for the batch. We recommend checking one representative guide or small support set first, then reordering the accepted file and material.
Sources checked
Prusa Research, 3D printed workshop equipment: tools and jigs. Firsthand examples of parallel marking, angle transfer, alignment and painting supports; no transferable accuracy test. Verified: 2026-10-05.
Lee Valley / Veritas, Dual Marking Gauge. Manufacturer description of adjustable rods, locking settings and wheel cutters. Verified: 2026-10-05.
Return to text: 1
Lee Valley / Veritas, Bevel Setter. Manufacturer explanation of angle transfer, setting and reading. Verified: 2026-10-05.
Return to text: 1
Hyde Tools, Painter's Pyramid. Commercial product description; its ratings and chemical claims do not qualify a custom print. Verified: 2026-10-05.
Return to text: 1
Rockler, Bench Cookie Finishing Bridges. Manufacturer description of ridge, divot and separately sold gripper arrangement. Verified: 2026-10-05.
Return to text: 1
General Finishes University, Drying times. Brand-specific distinction between recoat dry time and cure before normal use. Verified: 2026-10-05.
Return to text: 1
Prusa Polymers Team, Chemical resistance of 3D printing materials. Manufacturer laboratory report and exposure variables; not a compatibility finding for your coating or cleaner. Verified: 2026-10-05.
Return to text: 1
Have a sliced file ready?
Upload it for an instant quote in CAD.