3D printing for home automation installers: sensor mounts, stands and device holders
Updated · 9 min read
A practical guide to small indoor smart-home stands and cradles: start with placement, preserve device access and test an authorized model before using it.
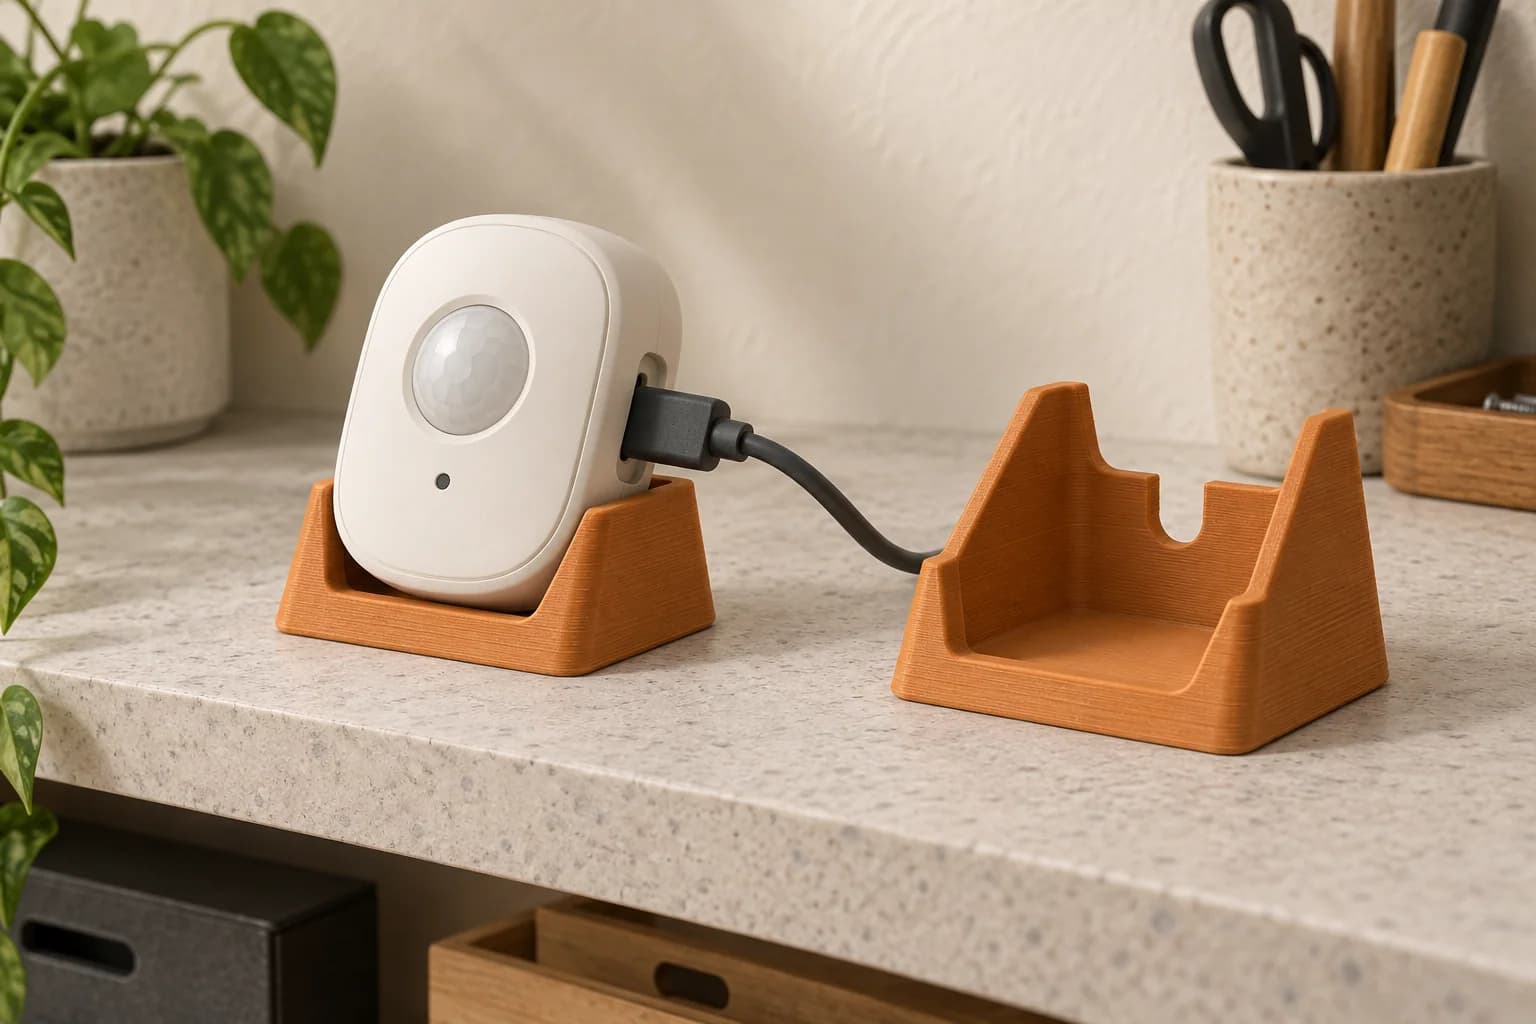
A 3D printed sensor stand or device holder can solve a small placement problem when the original accessory does not suit the spot. Start with the location, check access, then choose an authorized model. The sensor must still sense, the cable must connect and the device must remain removable for maintenance.
For Toronto and GTA home automation installers, sensible candidates include small indoor freestanding bases and open desk or shelf cradles around intact devices. We focus on low-consequence uses such as convenience lighting and room monitoring. Fire or security functions, electrical internals, locks, equipment suspension and outdoor enclosures need a different level of qualification and fall outside this guide and our print-service scope.
Name the placement problem before looking for a file
Write a one-sentence brief: “Keep this sensor facing the seating area from this shelf.” Include the exact device and housing revision, the intended surface and how it gets power. Use that brief to judge whether a model solves the job.
Check the supplied accessory first. Aqara lists a holder and sticker with its Motion Sensor P1 and describes its adjustable stand. Apollo offers an MSR-2 stand with screw holes. Neither example means its accessory suits every location, but both show why the manufacturer’s options belong at the start of the comparison.12
If the supplied stand already holds the device in the required position and leaves access clear, use it. Repositioning a device or its cable may also solve the problem without adding another part. A printed accessory earns its place when it addresses a specific unmet need: a different shelf footprint, an unobstructed cable exit or a modest change in angle.
A stand can hold a sensor neatly in an unsuitable spot. Consult the actual device’s placement instructions before committing to a shape, and assess the arrangement with its enclosure intact.
Three useful jobs for a small printed accessory
A freestanding sensor base
A base can give a small sensor a repeatable position on a shelf or desk. In a hypothetical living-room lighting setup, the useful requirement might be keeping an intact sensor at a chosen angle while leaving its sensing face exposed. The base still needs to sit steadily with the real cable connected and fit within the available shelf space.
Avoid turning a simple stand into a device enclosure. Extra walls need a reason, and any added material must respect the device’s documented openings and access points.
An open cradle for an intact device
An open cradle can position a small device while preserving its case. Maker chimeranzl’s Home Assistant project thread describes a Tuya IR-blaster holder that addressed the device’s difficulty staying attached to a wall.3
For the low-consequence shelf arrangements covered here, look for support around the intact housing and a clear path for removal. A design that requires opening the device or trapping its cable is a different job.
An angle-setting base
A simple wedge or angled base may let a small device sit in a useful orientation where its supplied support cannot. Choose the angle from the device’s placement guidance, then check its operation in that position.
Leave the device accessible after it fits
The outside dimensions are only the beginning. Check the actual assembled device, including any fitted accessories, with the intended cable connected. This catches problems that a bounding box or product photo cannot answer.
Sensing openings deserve particular attention. Apollo’s MSR-2 guidance says its two large light-sensor openings should remain uncovered so light can enter.4 For another sensor, use its own manual to identify the areas that must stay clear.
Use this proposed access checklist when comparing a model with the device:
| Area | Question to answer before ordering | What to check with the printed sample |
|---|---|---|
| Housing | Does the file match this device revision and any fitted add-ons? | The device seats and lifts out without force or case distortion. |
| Sensing face and openings | Which areas must stay exposed according to the device documentation? | The holder does not cover them in the intended position. |
| Power connection | Can the plug enter, seat and be removed with the cradle in place? | The actual cable connects without shifting the device or base. |
| Buttons and battery cover | Can routine controls and service points be reached? | The intended maintenance task is possible without dismantling the arrangement. |
| Shelf footprint | Is there space for the base, device and cable together? | The complete arrangement sits steadily and can be inspected. |
An access problem usually calls for a geometry change, not a tighter grip. Keep a note of the blocked feature so the model can be corrected deliberately. Avoid scaling the whole holder merely to open one area; check every mating feature again if dimensions change.
Find a model you can use for this job
Start with the device manufacturer’s resources, then look for well-described creator projects. Apollo’s documentation links STEP and STL files for community use. An official directory is a useful place to find geometry, but you still need the particular file’s revision and licence before arranging a paid print or using it for client work.5
Keep the creator’s name, direct model link, file version, download date and exact licence with the project. For a remix, check its source as well. A model for a similar-looking device is a lead to investigate, not a fit confirmation.
Rights can depend on the proposed use. Creative Commons explains that NonCommercial questions depend on the circumstances and recommends asking the rights holder when permission is unclear. A free download alone does not settle authorization for your job.6 Our downloaded-model guide explains the checks to make before ordering.
If there is no suitable authorized model, contact the manufacturer or a CAD designer first. We print supplied models; our upload service does not include designing a holder from a photograph, scanning the device or repairing its geometry.
Choose material for the actual indoor conditions
List the conditions before selecting a colour: direct sun, nearby heat, repeated removal, flexing and cleaning. Then compare that need with the stocked materials offered in the order flow.
Prusa describes PLA as useful for concepts and prototypes, with limited heat and UV resistance. Its PETG guidance describes a tougher material commonly used for holders and clamps, with better temperature resistance.78 These are material-screening references. They do not certify the finished accessory, establish a safe load or tell you which filament is currently available from us.
If the environment or consequence of failure makes suitability unclear, return to an original accessory or a qualified alternative. Our replacement-part printing guide covers broader fit and material questions.
Test fit, placement and operation separately
Use one sample to answer distinct questions. We suggest checking it in this order:
- Check fit and removal on the bench. Seat the intact device, connect its real cable and practise the maintenance task. Stop if fitting requires force, the case distorts or a feature is obstructed.
- Check the complete arrangement in position. Confirm the base sits steadily, the cable does not pull it out of place and the device can be removed as intended. Do this in a controlled setting where a failed sample has modest consequences.
- Check the device’s behaviour. Follow its own commissioning guidance and observe the relevant events or readings. For the convenience-lighting example above, walk the intended area and check whether the device reports activity as expected.
- Record what worked. Save the accessory version, material, device revision, location and removal method, with a photograph for your project notes.
Some devices provide specific placement tools. Everything Smart documents walking-path recording for Everything Presence Lite and Pro, including comparing the displayed trail with the path actually walked.9 Use the tools provided for the device you are installing.
Passing the bench fit check does not finish commissioning. If readings or events are wrong in position, investigate placement and device configuration as well as the holder. Replace or stop using a sample that cracks, shifts, softens or interferes with operation.
Prepare the file for a Toronto print order
Once the accessory is suitable and authorized, prepare it for printing. Inspect the slice for important contact faces, thin features and support contact. There is no single clearance, infill or layer recipe that establishes suitability for every holder.
STL or STEP geometry needs preparation before it can enter our customer upload flow. Follow the STL-to-print-ready guide and plate-slicing guide to prepare and export a compatible sliced file.
At 3dPrintsToronto, we accept authorized compatible pre-sliced .3mf and .gcode files. An unsliced .3mf can use opt-in auto-slicing when available. Select from the stocked filaments shown, review the file details and CAD quote, and approve the order when they match your intended print. Free scheduled Toronto pickup is the default, with Canada Post shipping when offered in the ordering flow.
Have a file ready for one small stand or cradle? Upload it for a quote. Check our terms of service for the full application restrictions before ordering for a client site.
A tablet dashboard adds its own access questions: our tablet bezel fit guide walks through charging-plug clearance, controls and removal on a protected bench.
Once one cradle passes your placement and access checks, the smart-home repeat-batch workflow explains what to save before ordering copies.
For a small AV unit, the device-holder fit guide extends the access map to plug release tabs, connected cables and the complete removal route.
Frequently asked questions
Can we print a downloaded Home Assistant sensor mount without owning a printer?
Yes, if reproduction is authorized, it fits the exact device and the application meets our scope. Prepare a compatible sliced file, or use available opt-in auto-slicing for an unsliced .3mf. STL downloads need preparation first.
Should we print a stand if the sensor already includes one?
Use it if it meets the placement and access needs. Identify any unresolved issue, such as shelf footprint or cable exit, and compare the manufacturer’s optional accessories before printing.
Can a holder affect sensor readings?
It can obstruct a feature the device needs. Apollo’s documented light-opening requirement is one example.4 Check the actual device instructions and verify operation in position; a good housing fit alone does not answer that question.
What should we check before using a sample at a client site?
Confirm controlled fit and removal, connection and maintenance access, steady placement with the cable attached, and the device’s expected operation. Keep the model and device revisions in the project record.
Sources checked
Motion Sensor P1 — Aqara. Included accessories and adjustable stand; verified: 2026-10-05.
Return to text: 1
MSR-2 Sensor Stand — Apollo Automation. Manufacturer accessory with screw holes; verified: 2026-10-05.
Return to text: 1
3D Prints for Home Assistant — chimeranzl. Creator’s external-holder descriptions; individual file licences remain unverified; verified: 2026-10-05.
Return to text: 1
MSR-2 general tips — Apollo Docs. Device-specific light-opening guidance; verified: 2026-10-05.
Source code and 3D files — Apollo Docs. Manufacturer model directory; individual file licence and revision require checking; verified: 2026-10-05.
Return to text: 1
Creative Commons FAQ. NonCommercial guidance and uncertain-use clarification; verified: 2026-10-05.
Return to text: 1
PLA — Prusa Knowledge Base. Prototype uses and heat/UV limitations; verified: 2026-10-05.
Return to text: 1
PETG — Prusa Knowledge Base. Material characteristics and holder/clamp uses; verified: 2026-10-05.
Return to text: 1
Recording and playback — Everything Smart. Presence Lite/Pro placement-checking workflow; verified: 2026-10-05.
Return to text: 1
Have a sliced file ready?
Upload it for an instant quote in CAD.